Feed
Creating a feed
You may create feeds with every Gravity Forms form. A feed will allow you to submit form entry data to the desired API.
Go to the form where you would like to add the feed to, and under Settings click Send to API.
You will then see an overview of all the active Send to API feeds. To add a new one, click Add New.

Feed Settings
A feed has the following general settings:
Feed name
Here you can fill in a name to indentify your feed.
API-endpoint
This is the URL where the data will be send to.
Method
The method that is used make the request to your API-endpoint. You can choose between POST, PUT, PATCH, DELETE and GET.
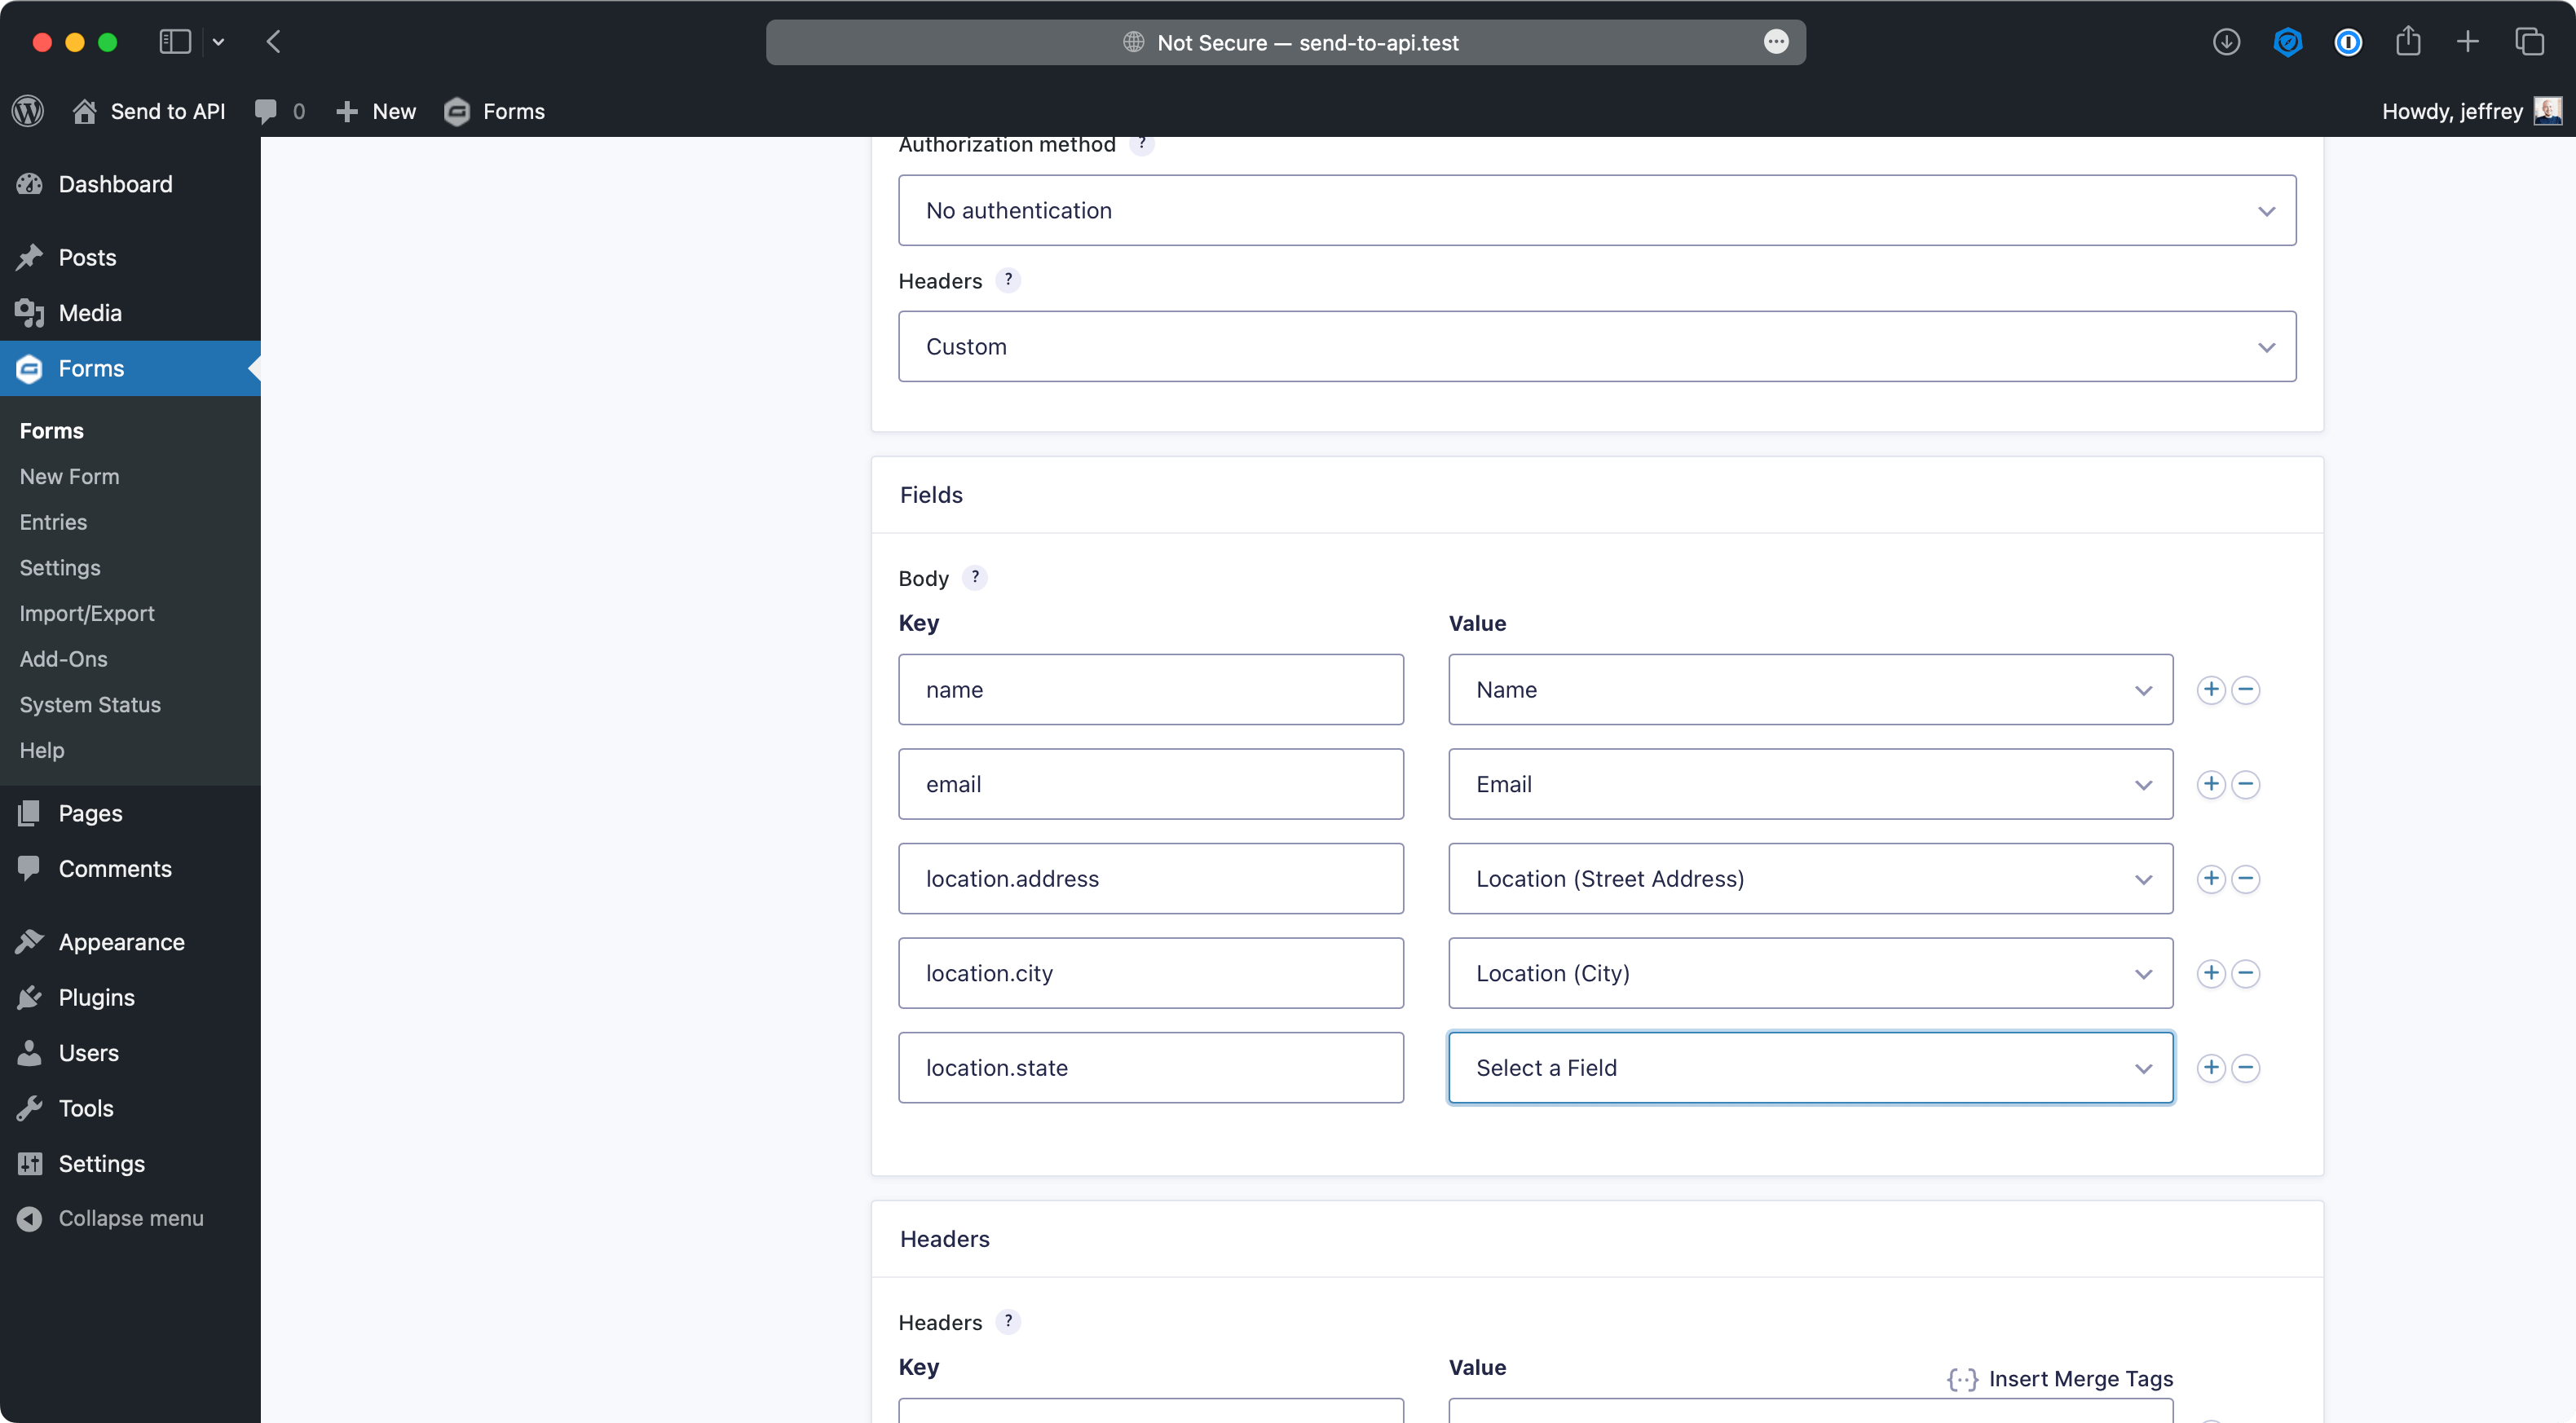
Authorization method
Here you set the authorization method the API requires. You can choose between Basic, Bearer, OAuth 2 or no authentication.
The supported OAuth grant types are: password and client credentials.
Some API's may require you to set a token through a different header. In that case, you could try and set a custom header instead.

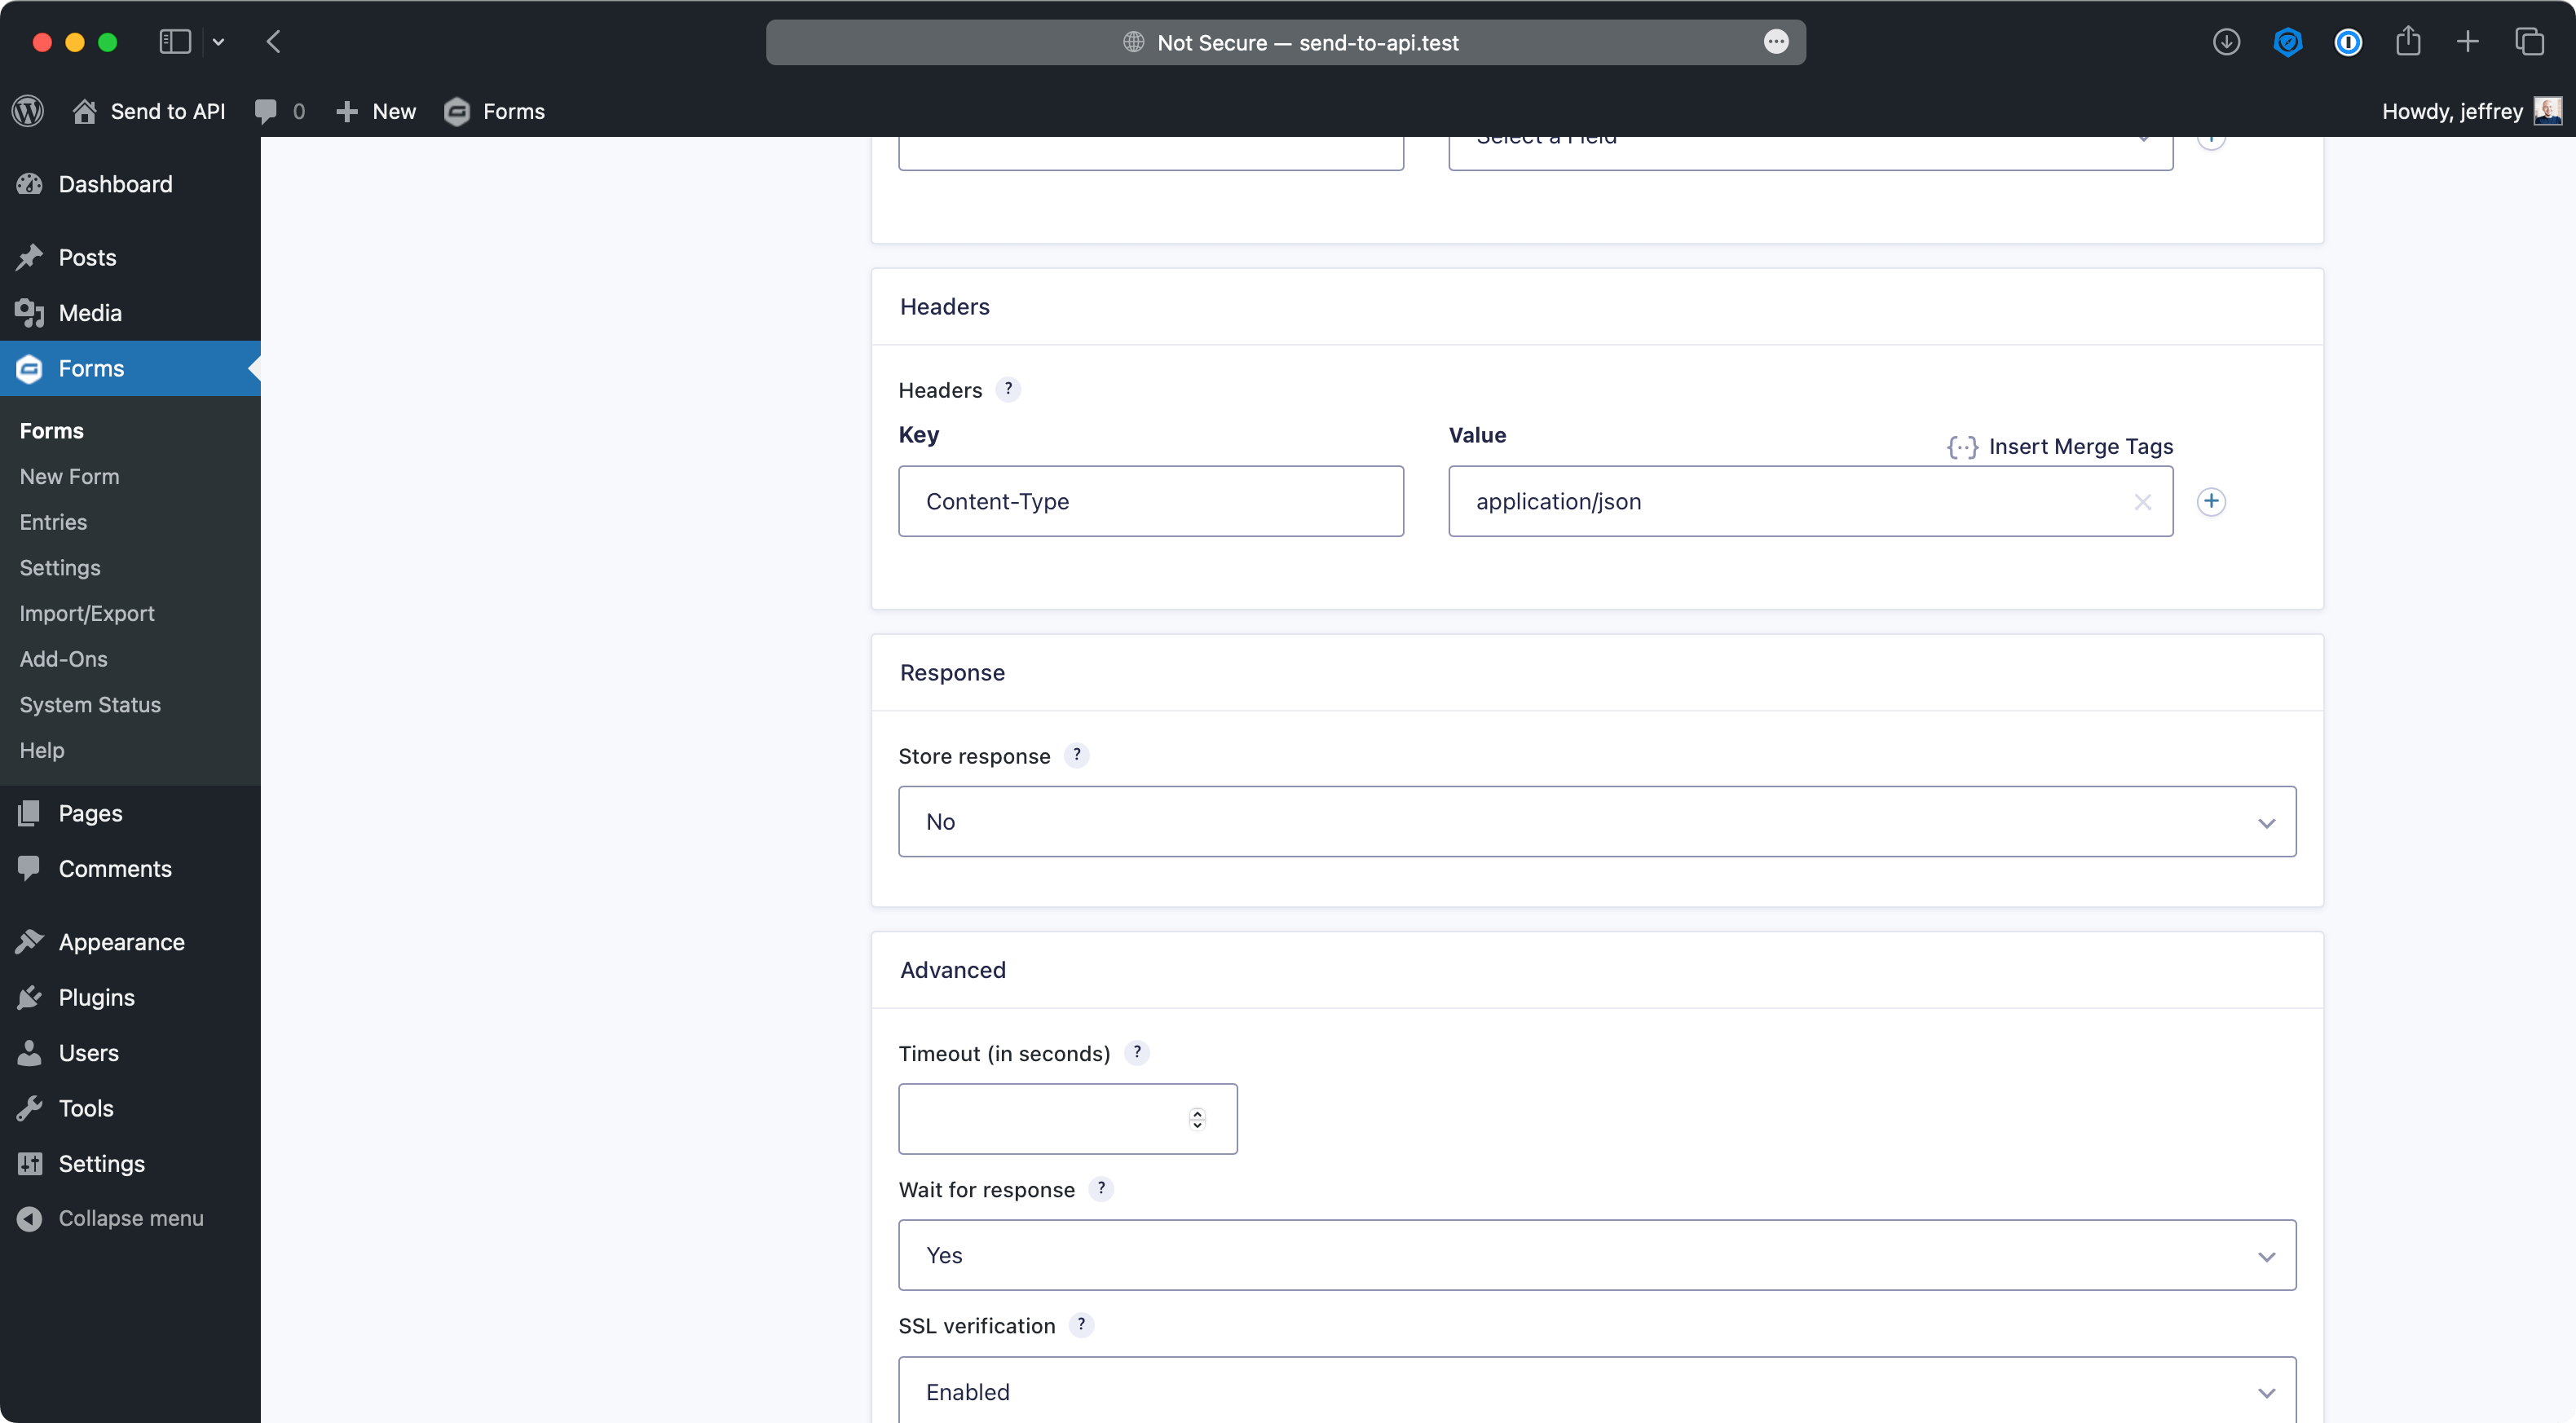
Headers
If the API you use needs custom headers, you may define them by setting this value to Custom. After you save the feed, an additional section will become available where you specifiy the custom headers.
A common example of custom header might be set the Content-Type, where the value then often needs to be application/json.
Fields
This section allows you to map the entry data to the keys that the API expects.
In addition to selecting form fields, you can also choose to add custom value.
The keys supported dot nation. This makes it easy to submit objects to your API. Say for example your API has an address object, you can set a keys like address.street, address.city etc.
An array of multiple objects is also possible with this notation. Say you need to pass multiple address, you could use addresses.0.street, addresses.1.street etc.
Response
You may choose to store parts of the response. To do this, you should set Store response to Yes. Once you save the feed, you'll be presented response mapper.
This will allow you to define a key and a merge tag name. The key represents the key that should be in the response object. If your API response, for example, contains an id you would fill in id.
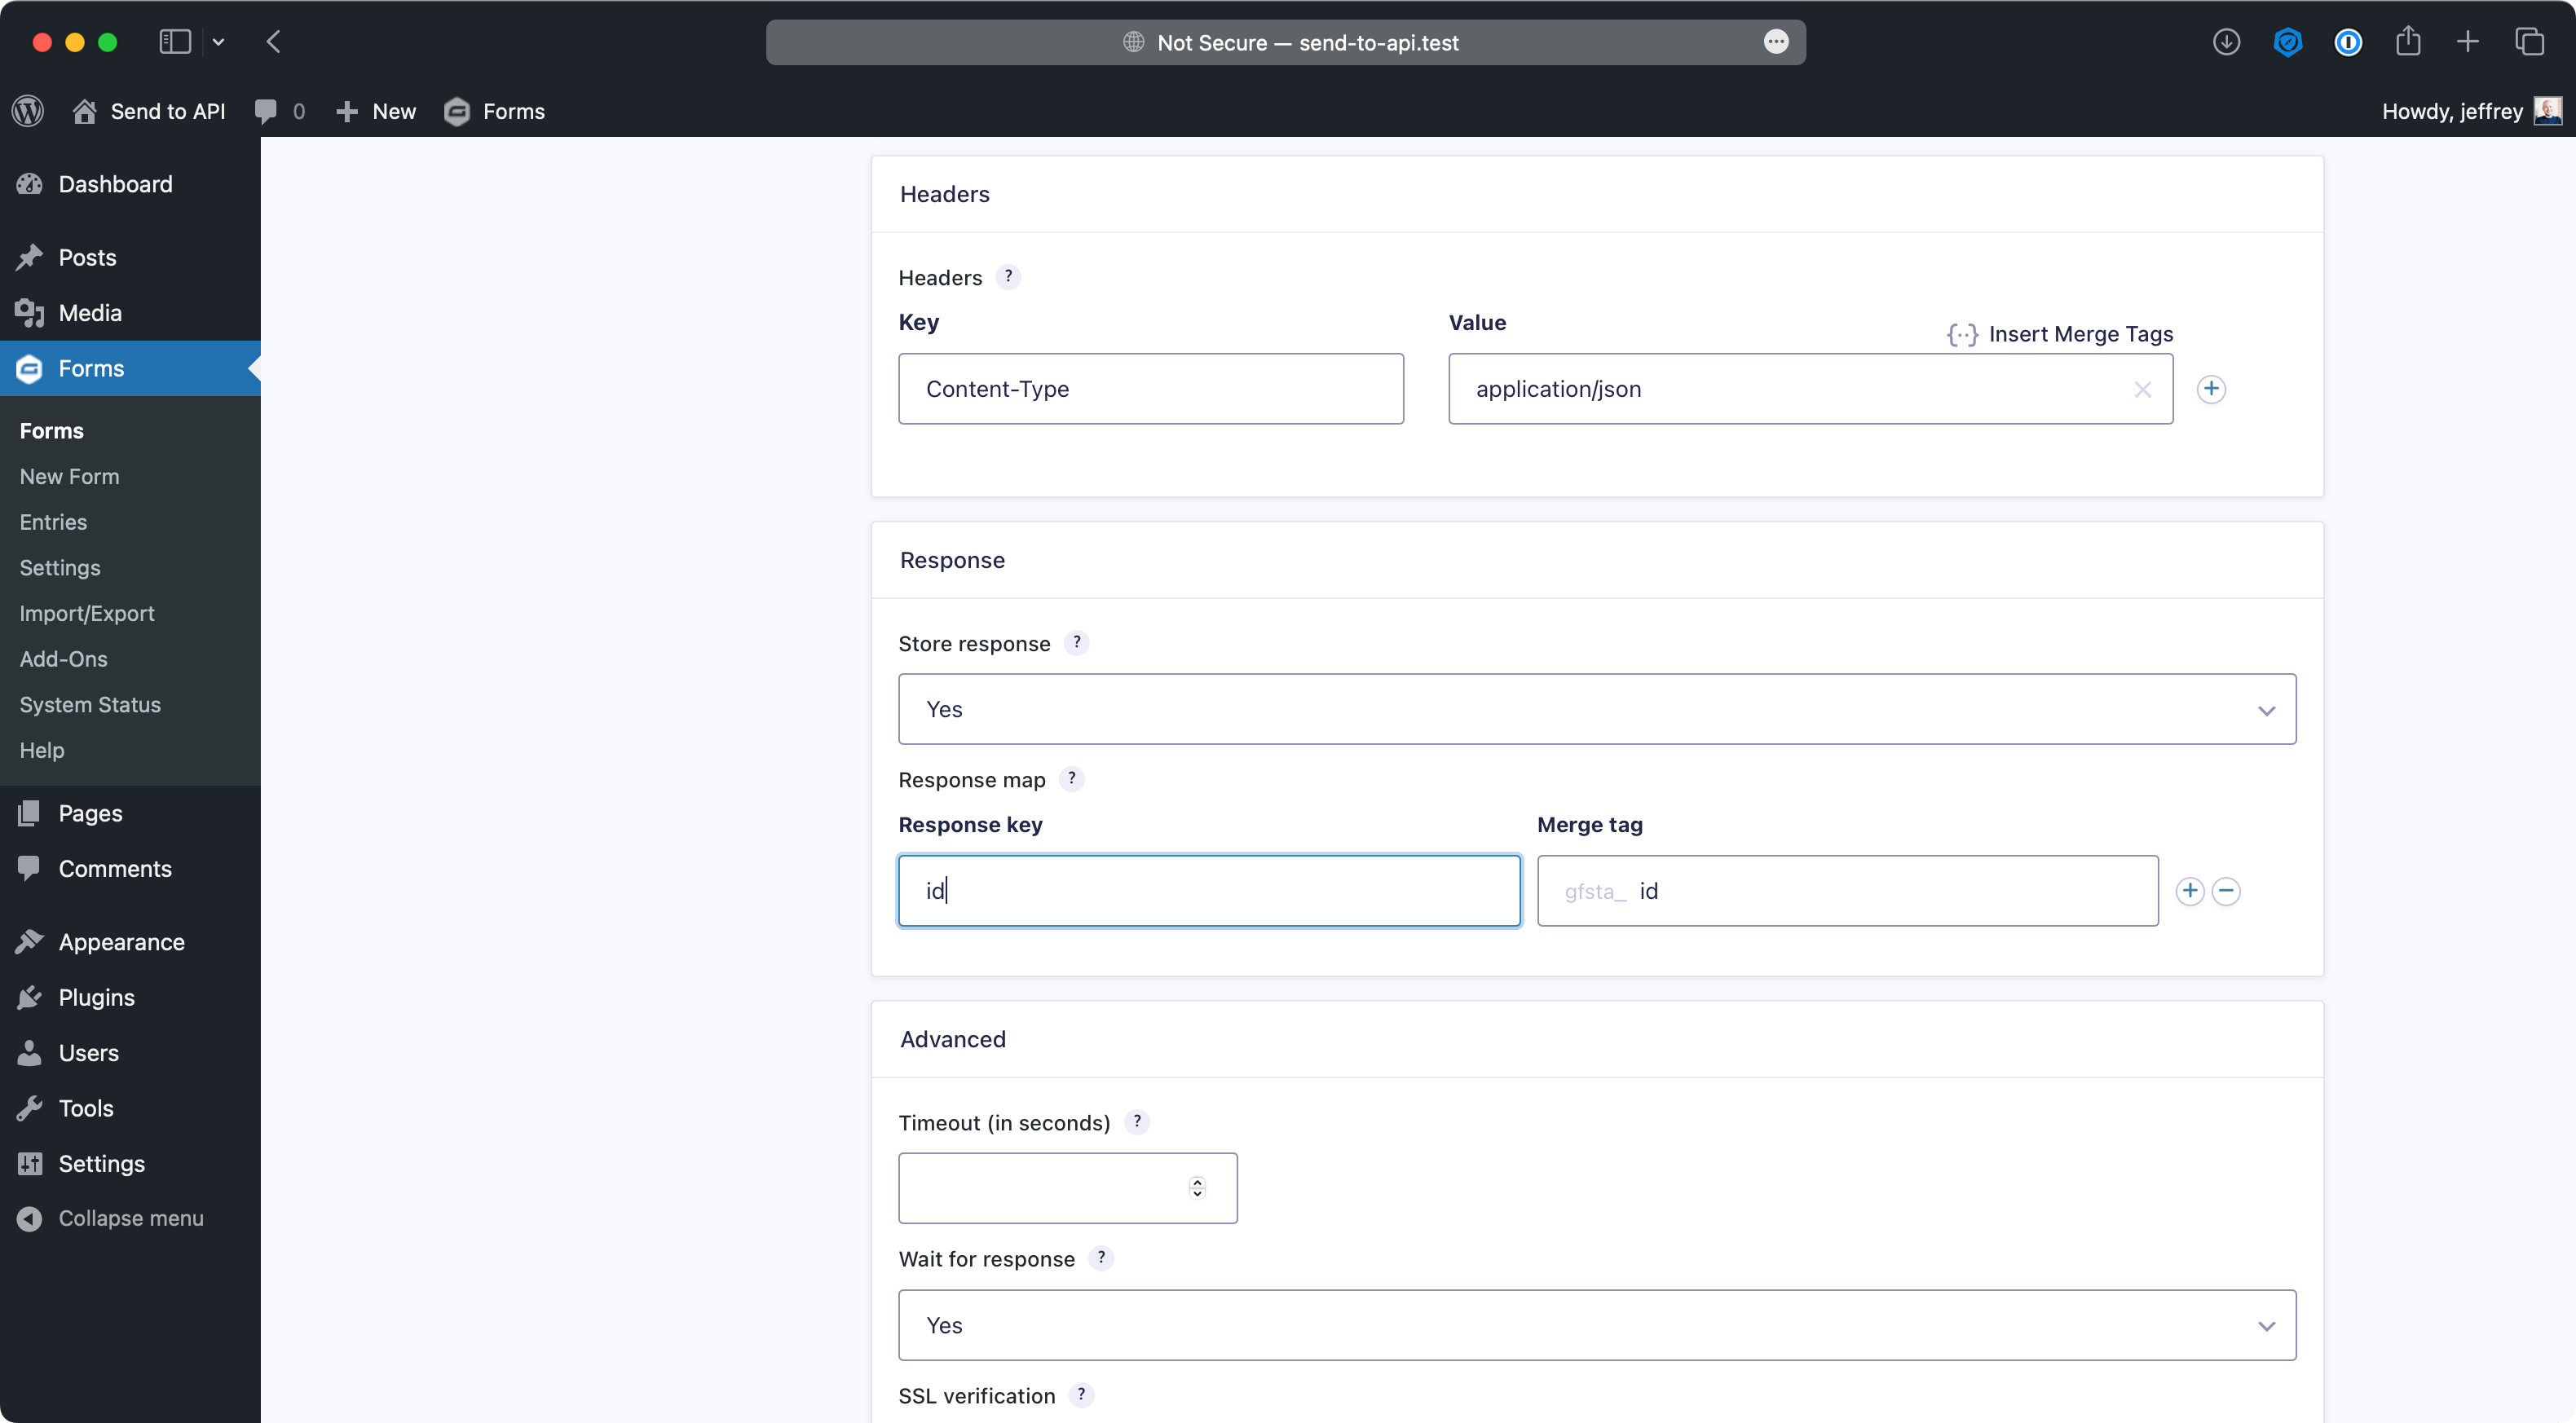
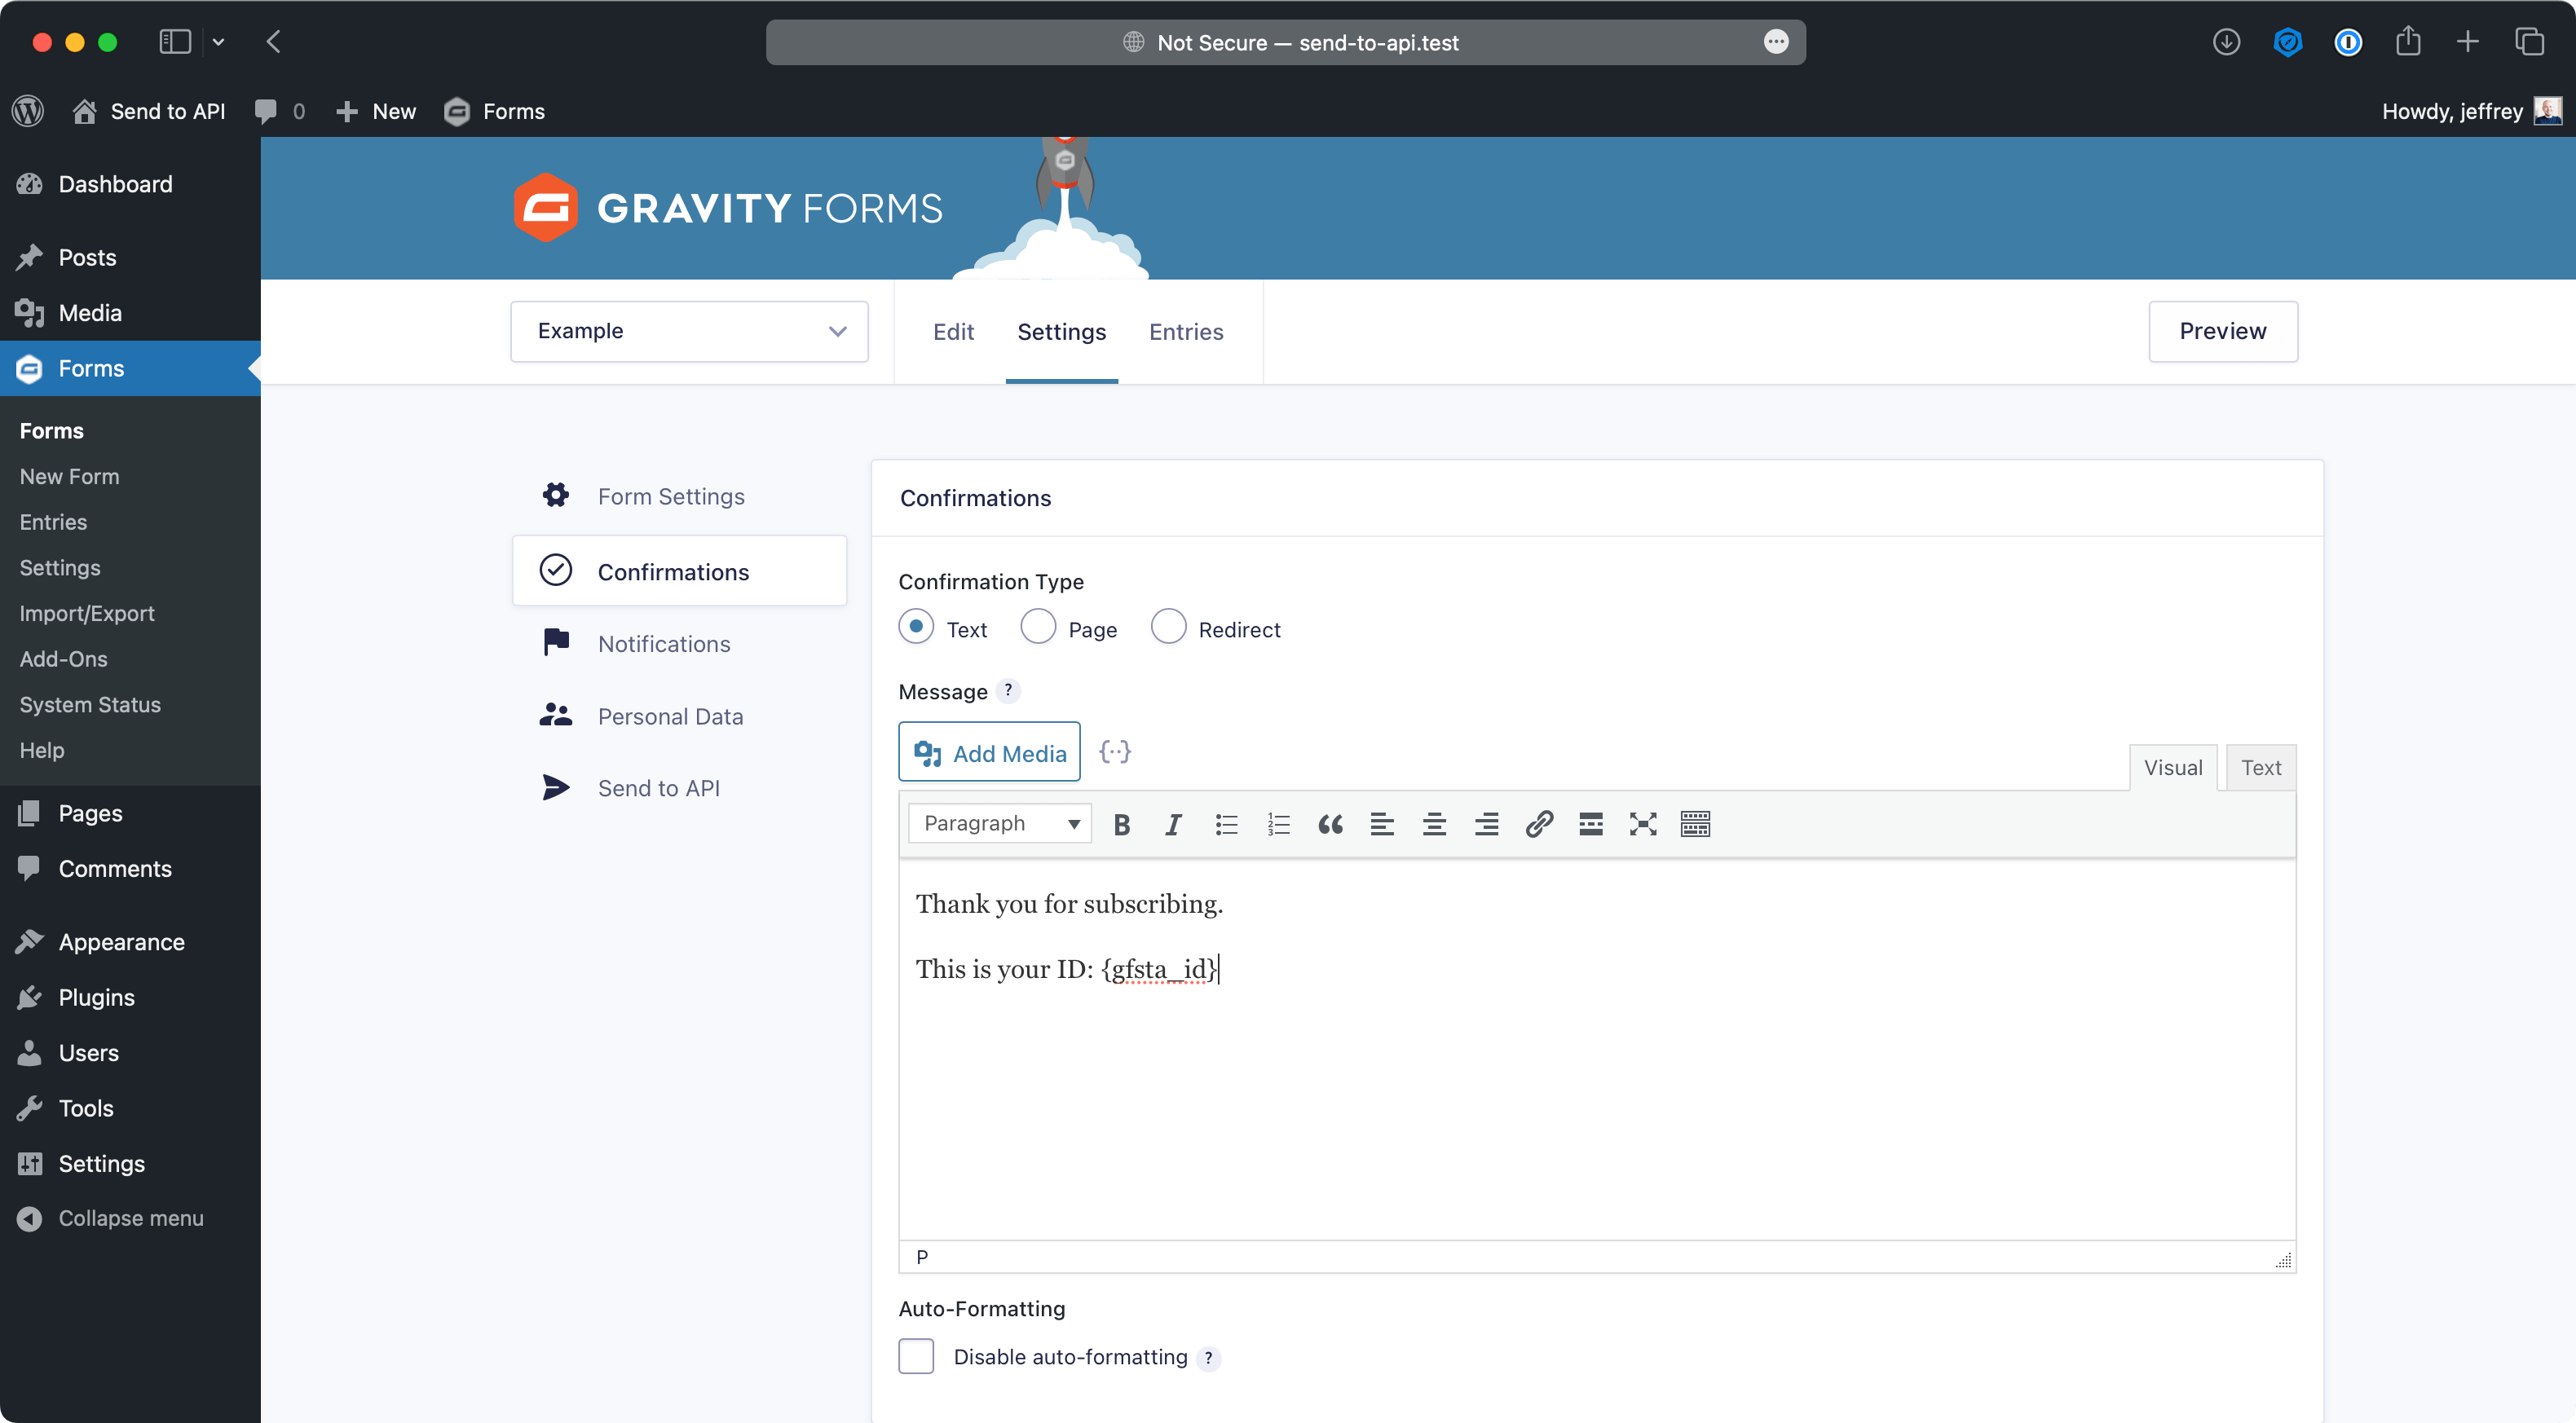
The merge tag name, will allow you to use the value in notifications and confirmations. If you had named the id to gsta_id, you can then use the merge tag like so: {gfsta_id}
Advanced
The advanced section has some handy options.
Timeout
If sending the data to the API sometimes results in a timeout error, you can increase the timeout seconds.
Wait for response
By default, we wait for the response of the request. If you set this to no, the script will continue without knowing the response from the server. If you need to store the response, you should not use this. If you don't need to know the response of the API, you could enable this - which makes the form submission process quicker.
SSL verification
This will disable the SSL verification for the request. This is not recommended, but can be useful for testing purposes.